How to setup WordPress on your local computer
1st install Apache, MySQL and PHP
- First you will need to install Apache web server, MySQL and PHP. I did this by installing XAMPP from www.filehippo.com
- The installation was very simple. All you had to do is click Next. Leave all the default selections. In the beginning of the installation it warns you not to install it in the Program Files folder because there will be security restrictions that will cause problems, so it by default is installed in the C:\XAMPP folder.
- After it is installed you will have a new program folder called XAMPP in your “All Apps” or “All Programs” list when you click Start. When ever you turn on your computer all of the programs that XAMPP installed will not be running. To start them, Apache Server and MySQL, you will need to start XAMPP Control Panel from the Start Menu.
- To view the locally hosted website in your browser go to “localhost/wordpress”
- To view some FAQ about XAMPP go to http://localhost/dashboard/faq.html
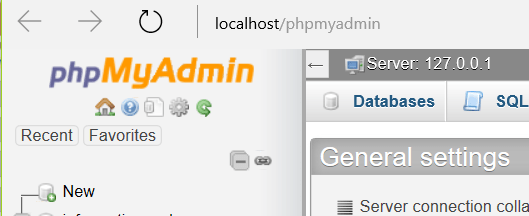
- To view the MySQL admin, open your web browser and go to “localhost/phpmyadmin”. You can also go there from the XXAMPP control panel by clicking the Admin button next to MySQL.
2nd create MySQL database for WordPress
- From the XAMPP Control Panel click the Admin button next to MySQL.
- At the top click the “Databases” tab
- In the “Database name” field type in a name for the WordPress database, like “wordpress”. Remember the exact way you spelled the database because you will need this for step 3 below.

- Click “create” on the right.
- You are done with this step.
3rd download and install WordPress
- To download WordPress go to https://wordpress.org/download/
- Extract the Zip file and paste the WordPress folder in c:\XAMPP\htdocs.
- Then open the web browser and go to localhost/wordpress.
- Select your language and click continue.
- On the next screen click “Let’s Go”.
- On the following screen in the “Database Name” field enter the exact name of the database you created earlier.
- In the next two fields enter “root” for the username and leave the Password field blank, erase what is in there. The rest you can leave alone, click Submit.On the next screen click “Run the Install”

- On the next screen give a name to your website, create a username and password that you will use to manage and edit your WordPress website.Then click “Install WordPress”
Manage and edit your WordPress site
To work on your WordPress website, in your browser go to “localhost/wordpress/wp-admin”
To view your local WordPress website go to “localhost/wordpress”
